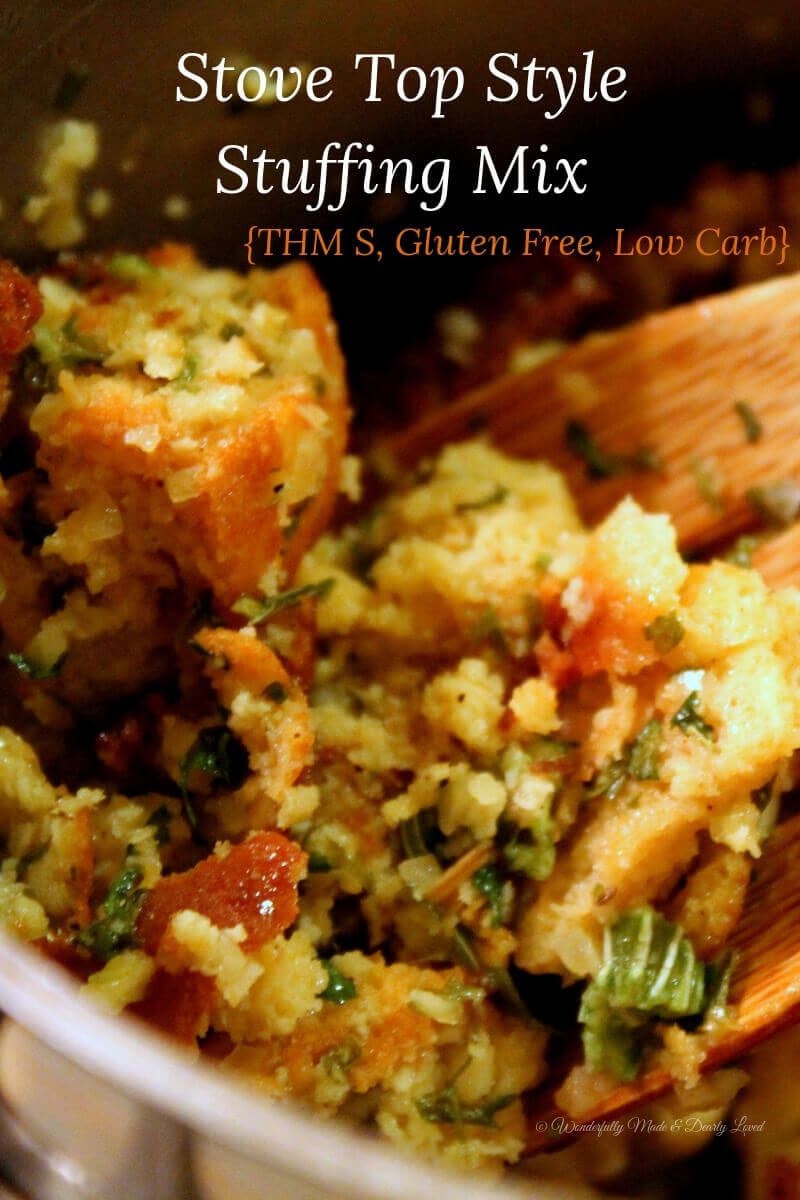
It is Monday, so it is time for another recipe makeover. I love to take favorite recipes and make them THM friendly. One of the biggest hurdles people have to overcome is thinking that healthy eating means never having their favorite foods again. The truth is that you can make a healthy version of almost any meal. And most meals don’t require that much work to re-make!
I don’t know what it is like where you live right now, but where I live, fall has settled in for the past week. Now, I know that we still have some summer left where I live as well, but this cool snap has turned my mind to all things fall. Chili, soup, fires, sweaters and of course, all things pumpkin spice! I saw this recipe and new that I had to recreate it to be THM friendly.
These cookies are everything I love about a sugar cookie. They are soft, sweet and delicious! The texture of these is very reminiscent of the iced “lofthouse” style sugar cookies that my kids have always loved from the store. The pumpkin spice flavor makes them a bit more sophisticated though.
I hope that you will enjoy these cookies as much as my family has. They are definitely going to become a fall staple around here!
What You Will Need
- THM baking blend
- Collagen
- baking powder
- Mineral salt
- pumpkin pie spice
- softened butter
- Xes sweetener or gentle sweet
- egg
- vanilla extract
- 1/3 less fat cream cheese
Iced Pumpkin Spice sugar Cookies

Comfy, cozy taste of fall
Cookie Ingredients
- 1 cup THM Baking Blend
- 1/4 cup collagen
- 3/4 teaspoon baking powder
- 1/4 teaspoon of mineral salt
- 2 teaspoons of pumpkin pie spice
- 1/2 cup softened butter
- 1 cup of gentle sweet or xes sweetener
- 1 egg
- 2 teaspoons of vanilla extract
Frosting Ingredients
- 1/2 cup softened butter
- 4 oz 1/3 less fat cream cheese
- 1 cup of gentle sweet or xes sweetener (powdered)
- 1/4 teaspoon of pumpkin pie spice
- 1/2 teaspoon vanilla
- pinch mineral salt
Preheat oven to 350 degrees and line baking sheet with parchment paper.

In a mixer, combine sweetener and butter, and beat with paddle attachment until fluffy.

- Add egg and vanilla, and continue beating until fluffy and combined.

Add baking blend, collagen, baking powder, salt and pumpkin pie spice and stir just until combined. Scrape down sides of bowl as needed.

- Use a small cookie scoop or tablespoon and make 24 even balls of cookie dough and place on baking sheet.

Bake for about 15 minutes, or until edges are golden. Don't over bake. Let cool.
- To prepare frosting, using the paddle attachment, beat butter, powdered sweetener, pumpkin pie spice, and pinch of salt in the bowl of a stand mixer.
- With mixer still running, add in vanilla extract.
- Divide cream cheese into 4 cubes and drop them into the mixture one at a time until well combined.
- Frost the cookies after they are cooled completely.

It is a good idea to refrigerate these cookies after frosting to firm everything up. However they will keep nicely in a sealed container on the counter top for a week.
Do you have a favorite recipe you would like me to THM’ify? Comment below and I will see what I can do!
As always, I appreciate it when you choose to shop through my affiliate links. It costs you no extra but provides me with a small compensation that helps me keep adding valuable content to this blog.