
Decadent. That is the only appropriate word for this dessert. Seriously. This dessert is amazingly delicious. This is the first attempt I had made at taking a tried and true recipe that my family loved and turning it into something acceptable for the Trim Healthy Mama way of eating. And do you know what? It wasn’t even hard! I couldn’t believe how well it turned out.
Here’s the story: it was my daughter’s 17th birthday and she wanted Jamie’s Red Velvet Cheesecake Brownie for her birthday cake. We have made this recipe several times and it is amazing! It is not, however, kind to the waistline! 🙂 Well, I certainly was not going to deny my daughter (who had no weight issues whatsoever) what she wanted on her birthday, but I really didn’t want to deny myself such a delicious treat either and I wanted to know if I could make a reasonable substitute. So with Jamie’s recipe as a launching pad I headed to the kitchen.
I didn’t make a good substitute…I made a GREAT substitute! Everyone was impressed by how good it was and some even preferred the THM version to the original! Glory! So this dessert no longer has to be relegated to a once a year treat. The whole family can enjoy it knowing they are not doing any lasting damage to their health. Here is how you do it:
Red Velvet Cheesecake Brownie – THM S
Red Velvet Layer
- 1 cup butter, melted
- 1 1/2 cups xes sweetener or gentle sweet (or it’s equivalent. I know this seems like a lot, but the original recipe called for 2 cups of sugar. If you feel that will be too sweet start with a cup and taste the batter. I feel that recipes need to be sweeter than you think you need before baking. They tend to taste less sweet when baked.)
- 1/3 cup unsweetened cocoa powder
- 4 eggs
- 2 tsp vanilla extract
- 1 1/2 cups baking blend (Alternatively you could use: 3/4 cup almond flour, 1/2 cup oat fiber, 1/4 cup coconut flour)
- 1/2 tsp salt
- 1 tsp red food coloring gel (you can find this in the cake decorating section of Walmart. This color does not change the flavor so if you don’t mind not having the red color you can make these without the coloring)
- 1/2 – 1 cup thm chocolate chips (other sugar free chocolate chips, chopped skinny chocolate or chopped 85% dark chocolate bar)
- 8 oz cream cheese, softened
- 1/2 cup xes sweetener or gentle sweet (you could also use a 1/4 cup super sweet if you prefer)
- 1 egg
- 1 tsp vanilla extract
- Preheat oven to 350 degrees.
- Put butter, gentle sweet and cocoa into mixing bowl. Mix until well blended.
- Add eggs one at a time, mixing after each egg.
- Add vanilla and mix.
- In a separate, small bowl, stir to combine baking blend and salt.
- Add flour/salt mixture to wet ingredients and mix till well combined.
- Add food coloring gel and mix till combined.
- Stir in chocolate chips.
- At this point you have a couple options. You can either grease a 9×13 pan well if you intend to serve the brownies from the pan (this worked fine for me, they do not stick to the greased pan) or if you want you can line the pan with parchment paper (grease the parchment paper after you line the pan with it) if you want to lift the brownies out of the pan to cut and serve.
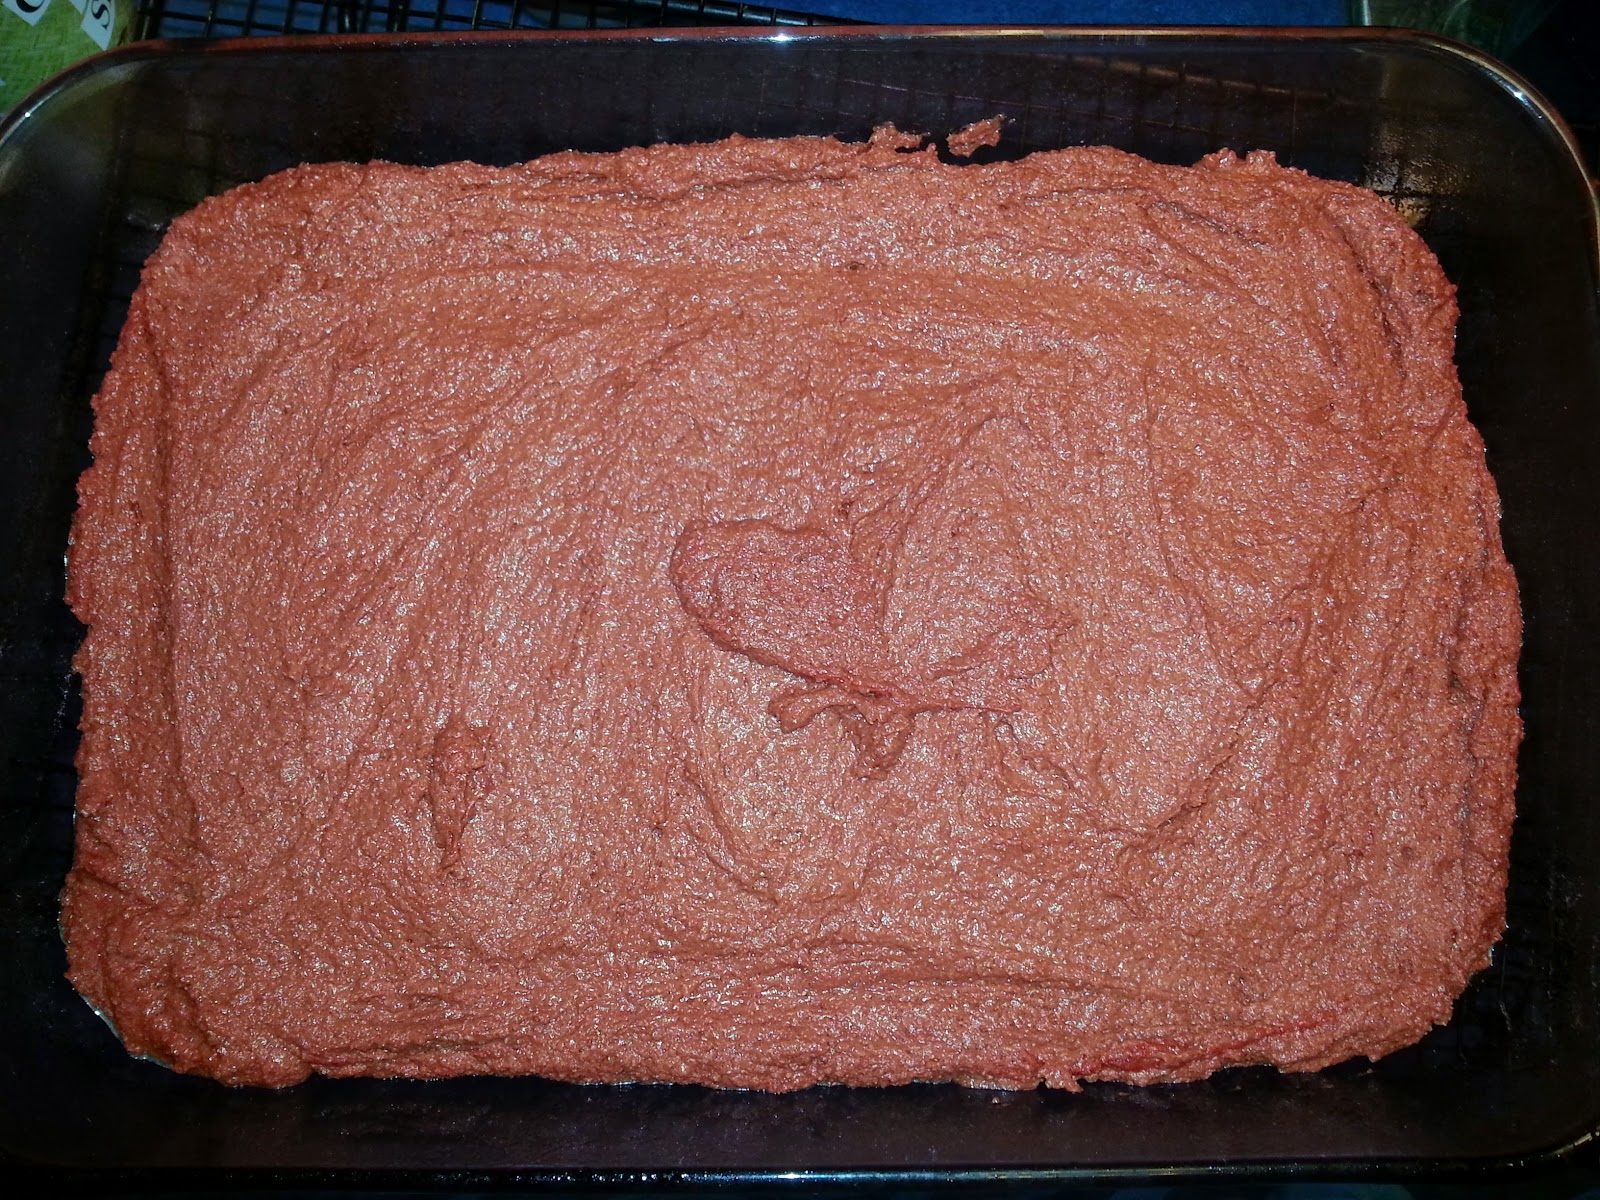
- Pour batter into greased pan and spread it out evenly. Set aside.
- Place cream cheese in mixing bowl and beat till fluffy.
- Add gentle sweet, egg and vanilla and mix until everything is incorporated and fluffy.
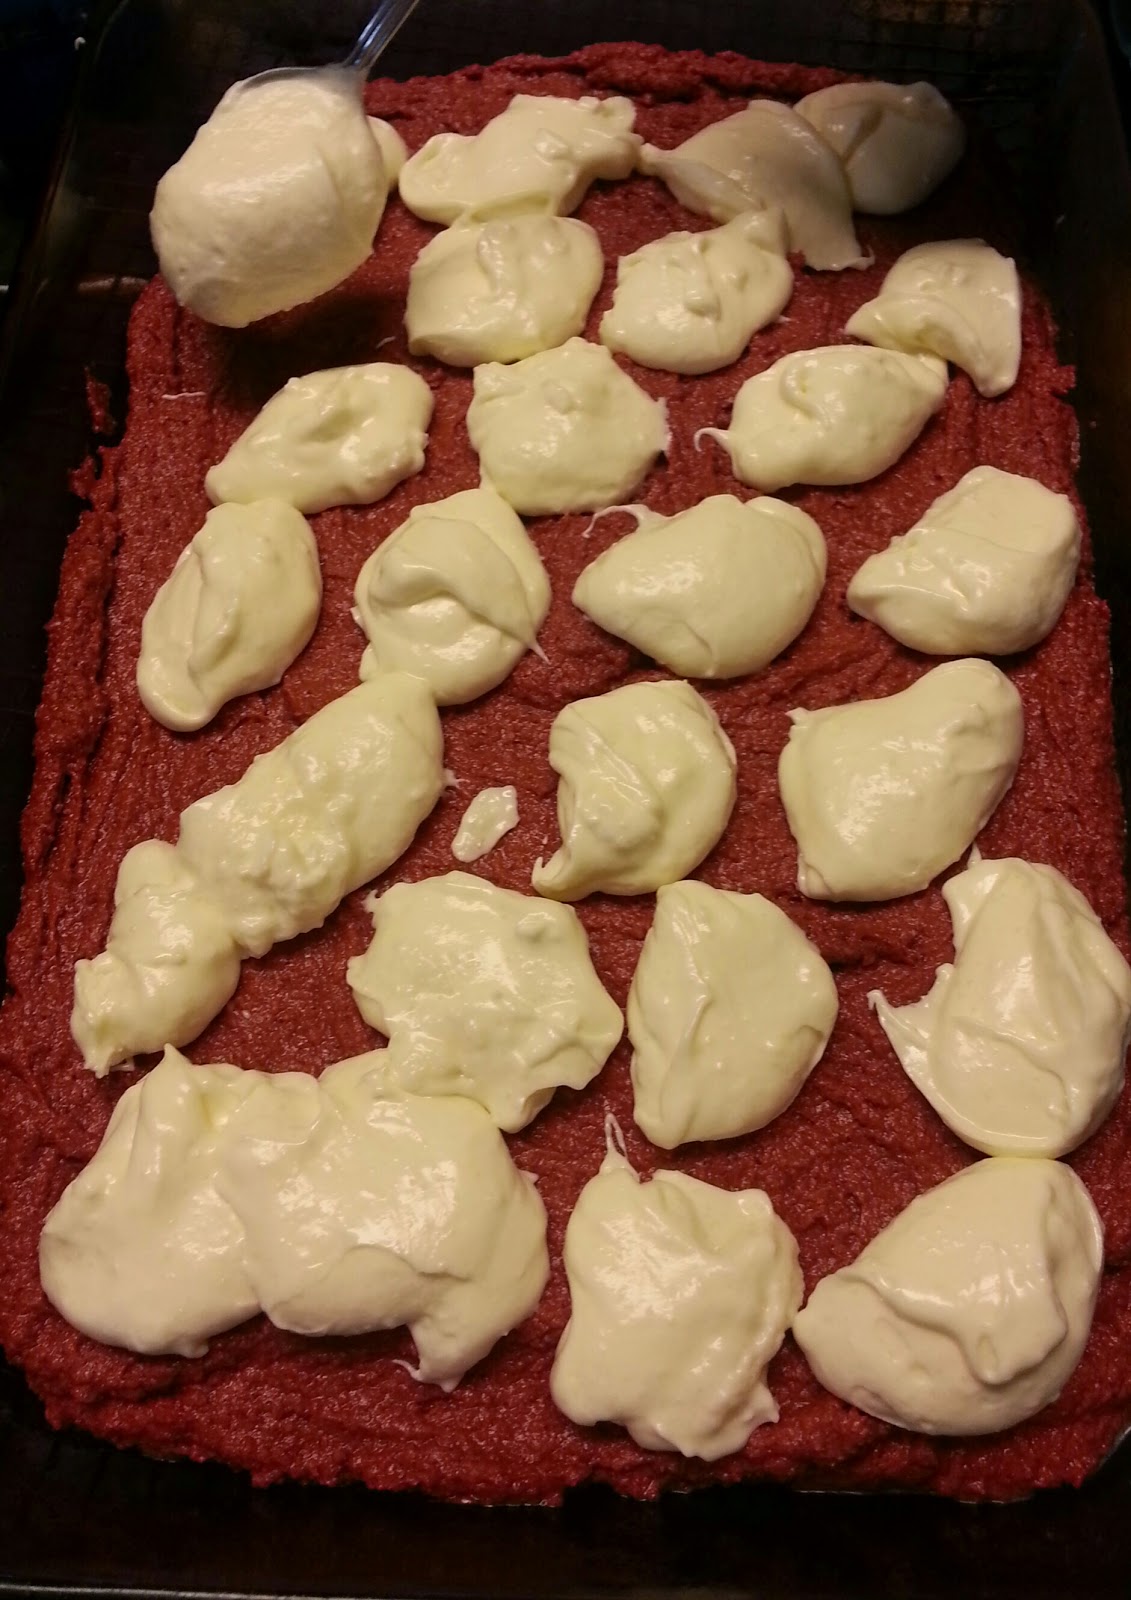
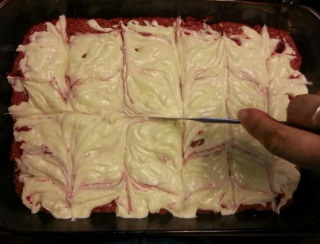
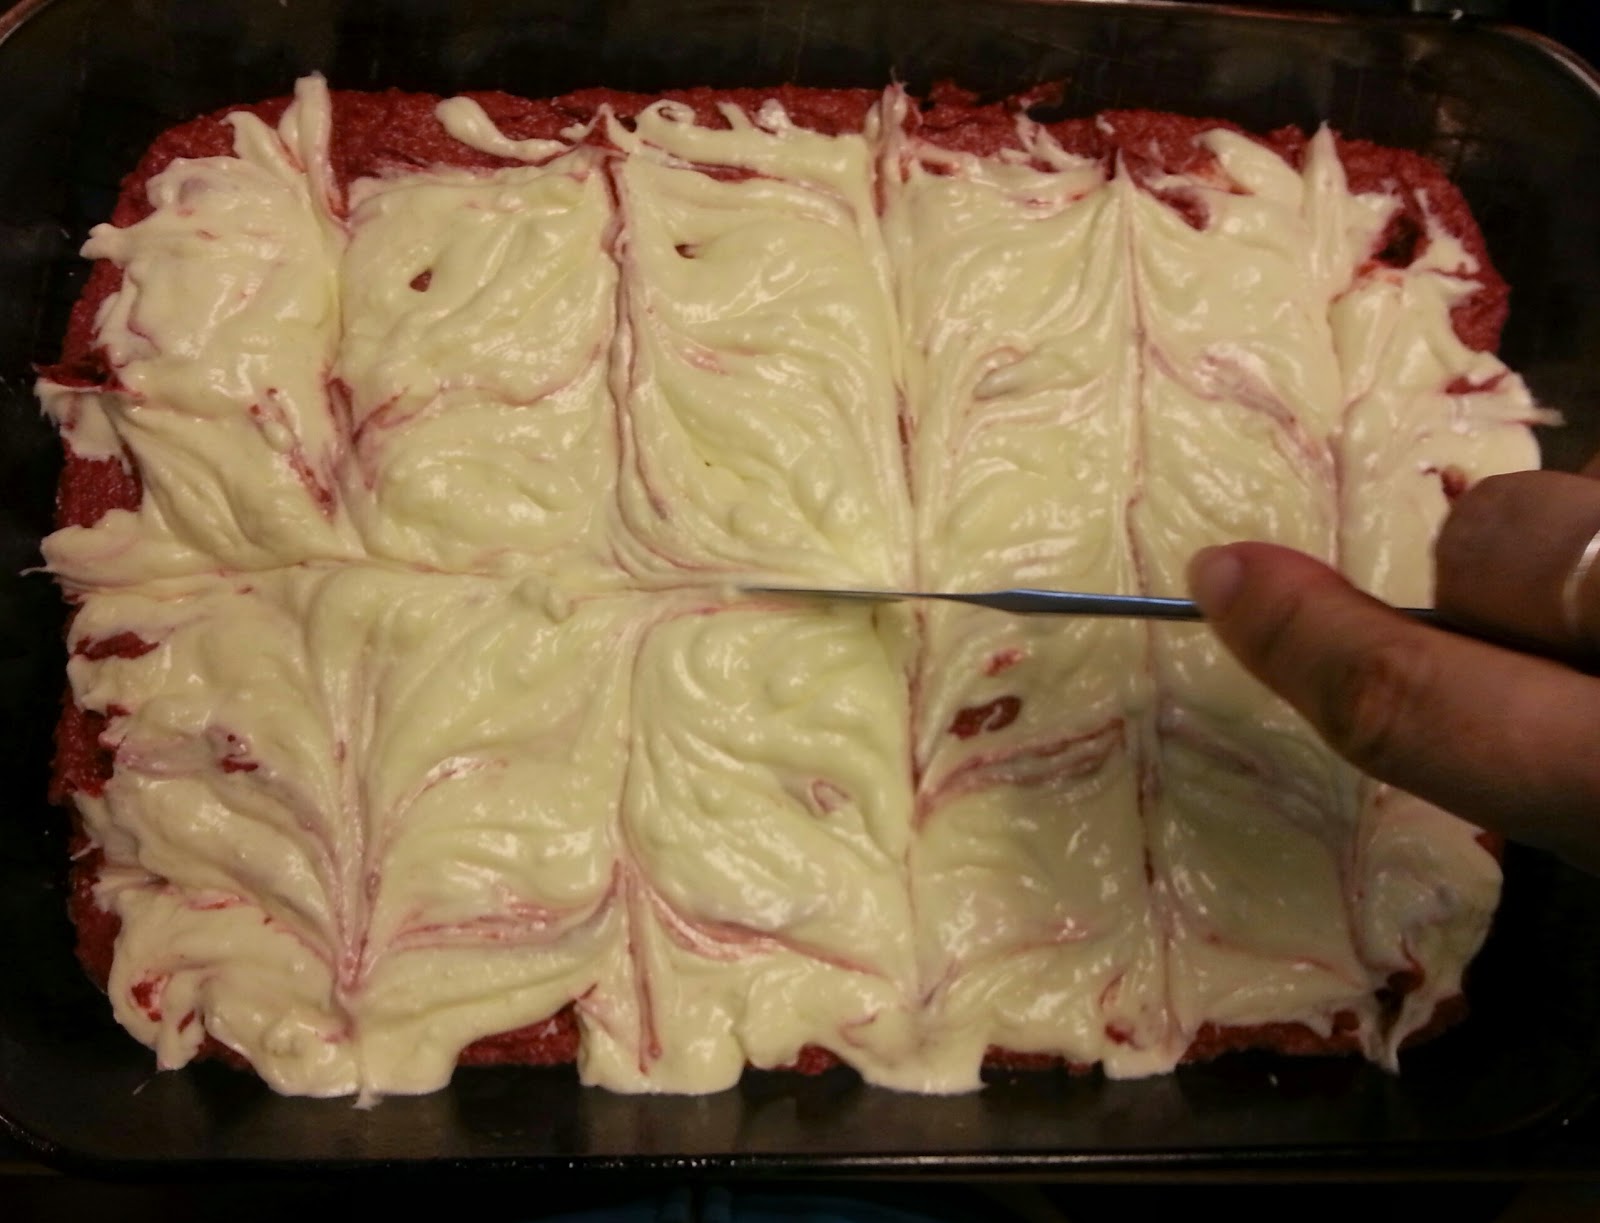
- Drop cream cheese mixture by spoonfuls over the top of the brownie layer in the 9×13 pan.
- Drag knife through the cream cheese and brownie layers to create a swirl pattern.
- Bake at 350 for 40-50 minutes or until brownie layer is set. Make sure to check it at the lowest time to be sure your cheesecake layer does not become too brown.
- Allow brownies to cool for at least 15 minutes before attempting to remove them from the pan (whether you used parchment paper or not).
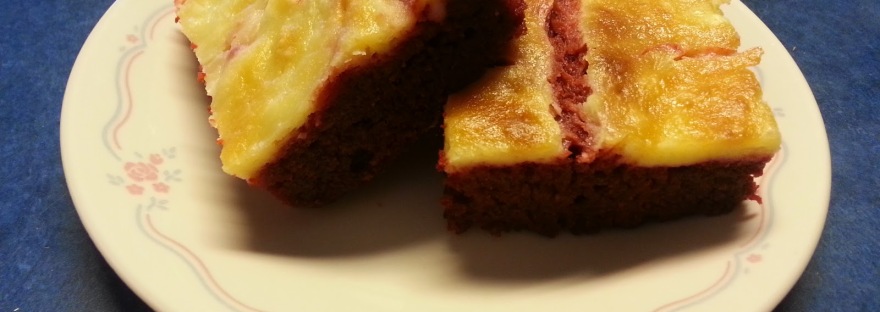
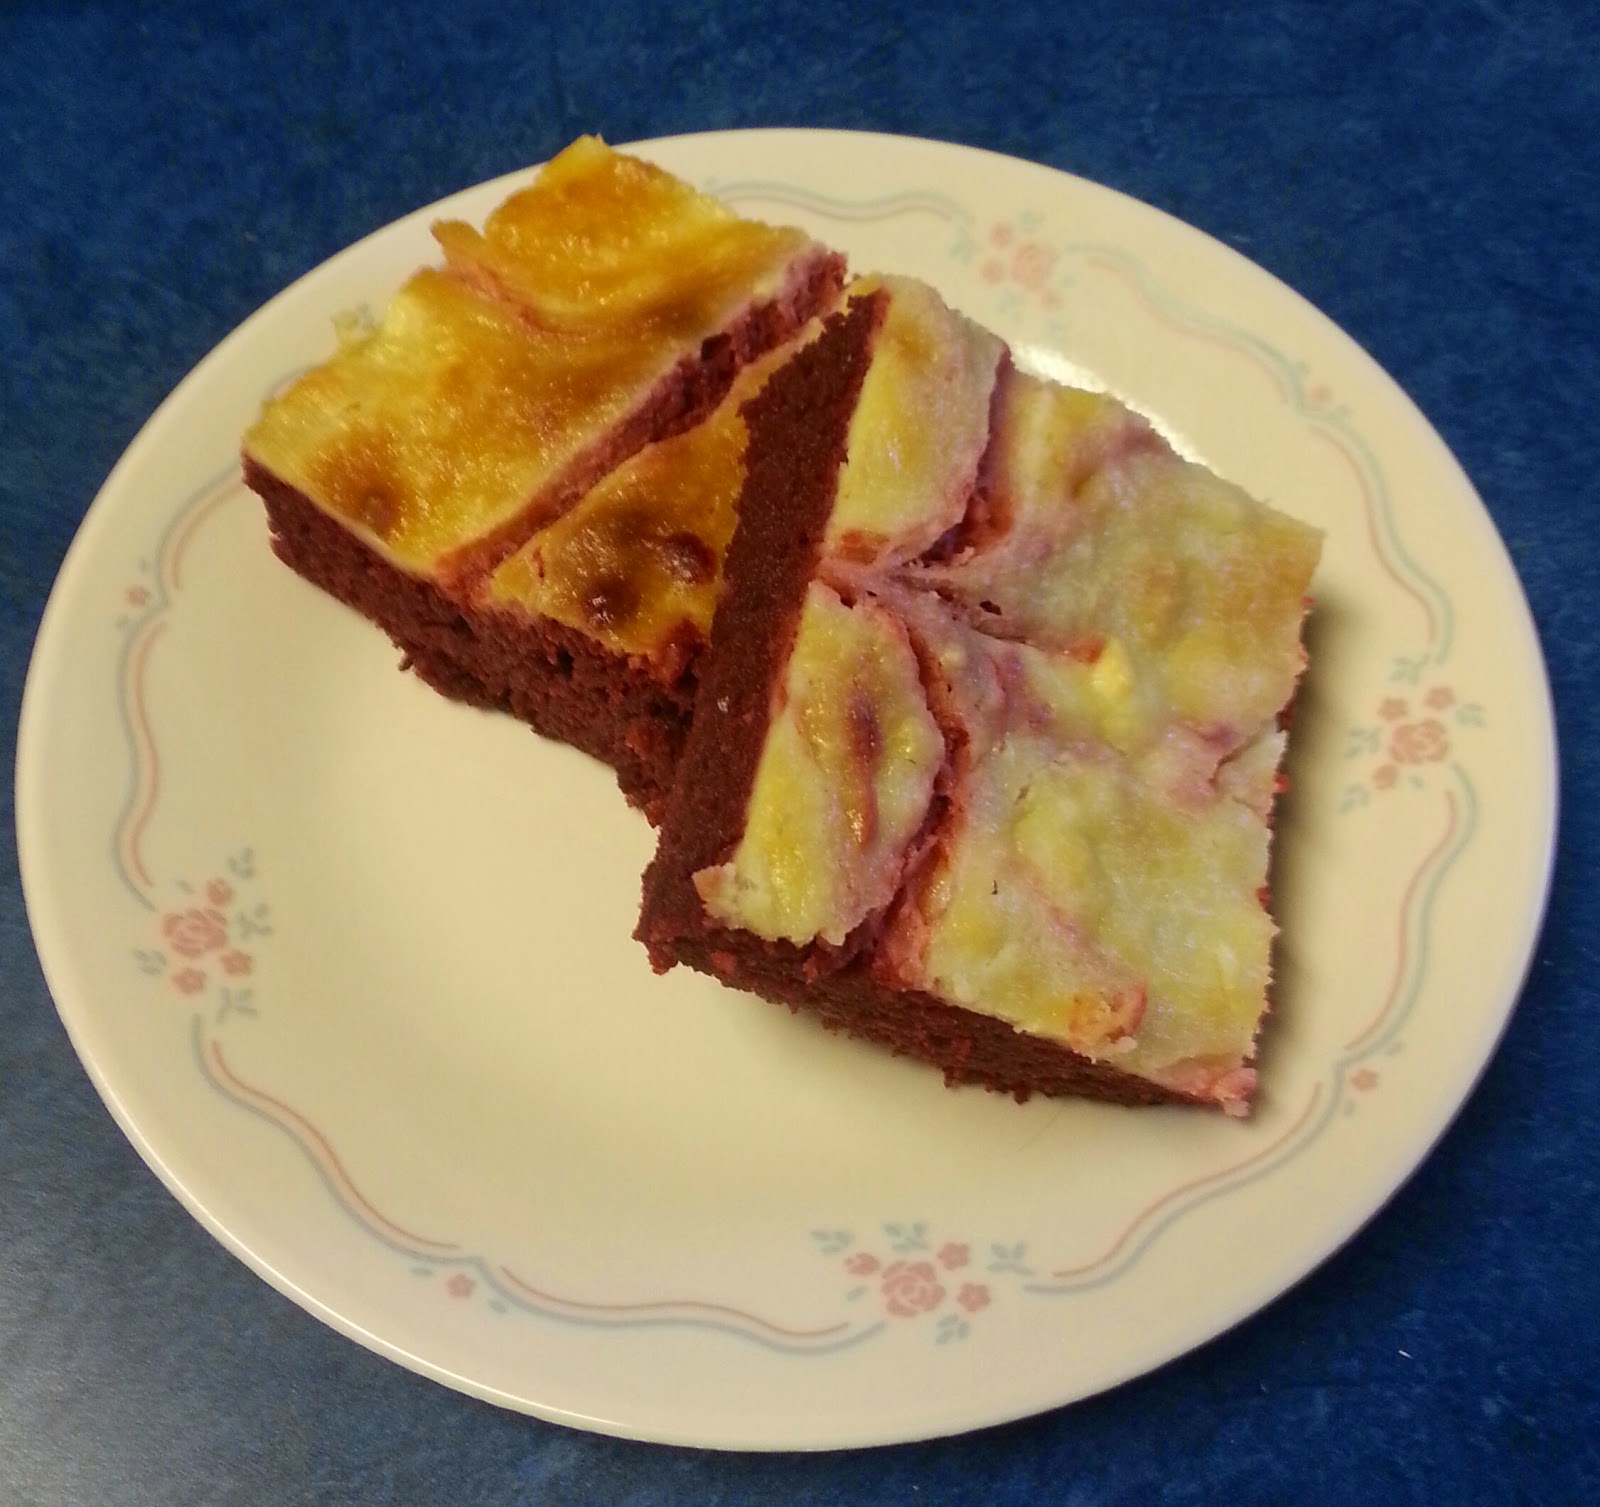
- Slice and enjoy!

My mouth is watering just looking at the picture again. These are so delicious you think you are cheating big time. Must go make them.
LikeLike
Do you think it’s better to use parchment paper, or just stick to a greased pan? If I make them, I want every crumb to come out! Lol.
LikeLiked by 1 person
Either way works really. I have done both. The nice thing about parchment paper is that it makes it easier to cut and store. However, if you grease the pan they really do not stick so it is just personal preference. 🙂 Hope you like them!
LikeLike
These were delicious!
LikeLike
So glad you like them!
LikeLike